You can achieve realistic red eye effects using a red eye generator by adjusting the intensity of the red color, tweaking the size and shape of the pupils, and using blending options to create a natural look. Experimenting with different light settings and overlay techniques can also enhance the effect, making it appear more lifelike.
To effectively utilize a red eye generator for enhancing portrait photography while maintaining a natural look, start by carefully selecting the areas where the red-eye effect is applied. Use the tool to subtly adjust the intensity and color of the eyes rather than applying a heavy effect. Ensure that the adjustments complement the subject’s natural eye color and skin tone, aiming for a harmonious blend with the existing lighting and shadows in the image. Additionally, consider incorporating other enhancements such as brightness and contrast adjustments to keep the overall portrait authentic while highlighting the eyes beautifully. Regularly compare your edits with the original photo to ensure you retain a lifelike appearance.
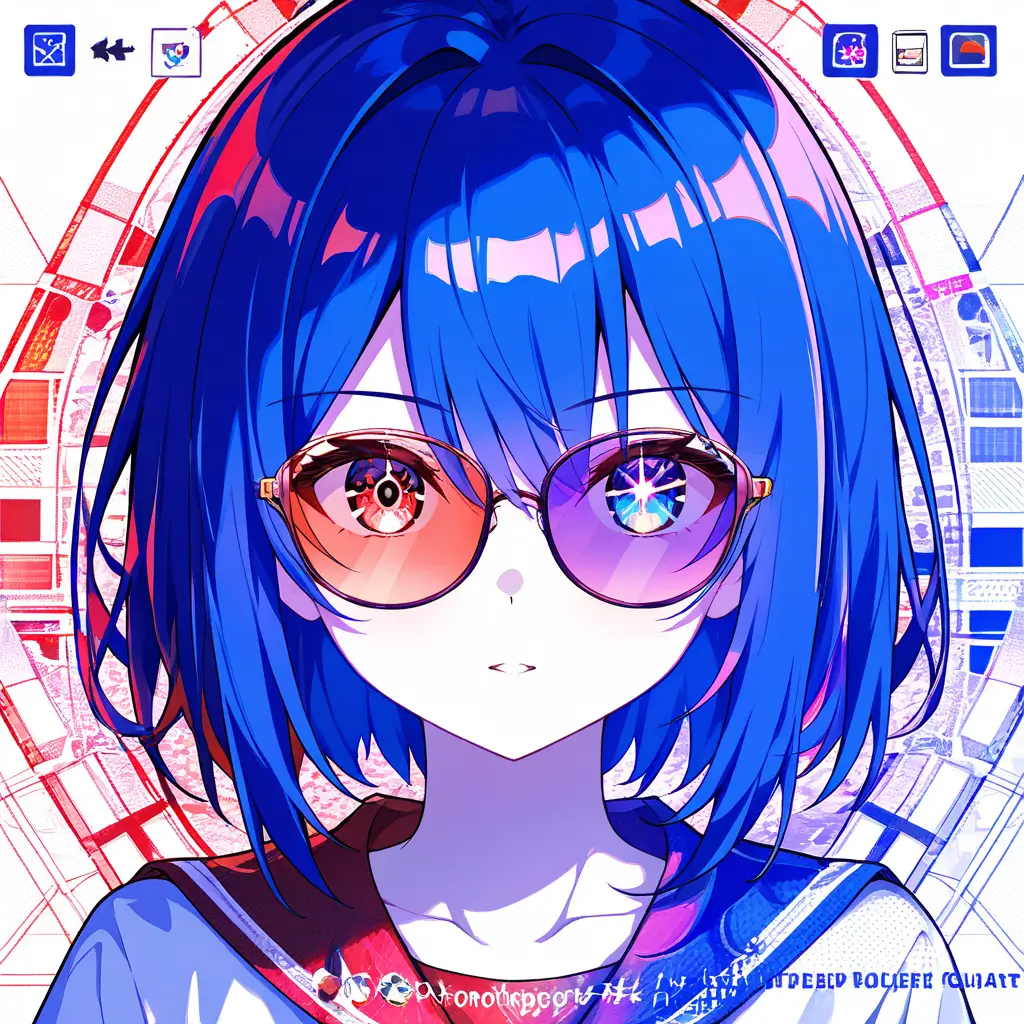
To seamlessly integrate a red eye generator into digital artwork while preserving the original visual narrative, consider the following strategies: 1. **Layer Management**: Use layers effectively to separate the red eye effect from the rest of the artwork, allowing for easy adjustments without altering the base image.2. **Blending Modes**: Experiment with blending modes to ensure the red eye effect looks natural and harmonizes with the overall color palette and lighting of the artwork.3. **Controlled Application**: Apply the red eye effect selectively, focusing on areas where it enhances the story without overwhelming the original elements.4. **Opacity Adjustment**: Modify the opacity of the red eye layer for a more subtle integration, ensuring it complements rather than dominates the visual narrative.5. **Color Harmony**: Use a color picker to match the red of the eyes with existing hues in the artwork, ensuring cohesion throughout the piece.6. **Contextual Consistency**: Maintain the character or subject’s expression and posture to ensure the red eye effect aligns with the intended mood and message of the artwork.7. **Feedback and Iteration**: Solicit feedback from peers or use mock-ups to gauge how well the red eye integrates with the overall composition, making adjustments as necessary.By employing these strategies, you can introduce a red eye generator effectively while maintaining the integrity and intent of your digital artwork.
To seamlessly integrate a red eye generator into digital artwork while preserving the original visual narrative, consider the following strategies: 1. **Layer Management**: Use layers effectively to separate the red eye effect from the rest of the artwork, allowing for easy adjustments without altering the base image.2. **Blending Modes**: Experiment with blending modes to ensure the red eye effect looks natural and harmonizes with the overall color palette and lighting of the artwork.3. **Controlled Application**: Apply the red eye effect selectively, focusing on areas where it enhances the story without overwhelming the original elements.4. **Opacity Adjustment**: Modify the opacity of the red eye layer for a more subtle integration, ensuring it complements rather than dominates the visual narrative.5. **Color Harmony**: Use a color picker to match the red of the eyes with existing hues in the artwork, ensuring cohesion throughout the piece.6. **Contextual Consistency**: Maintain the character or subject’s expression and posture to ensure the red eye effect aligns with the intended mood and message of the artwork.7. **Feedback and Iteration**: Solicit feedback from peers or use mock-ups to gauge how well the red eye integrates with the overall composition, making adjustments as necessary.By employing these strategies, you can introduce a red eye generator effectively while maintaining the integrity and intent of your digital artwork.